
Create and preview scenarios
A case scenario represents a complete end-to-end encounter, and may include interacting with the patient, ordering labs, writing an assessment and plan, and getting AI-powered feedback.
Visit the “My scenarios” page to view your case scenarios.

Creating a new scenario
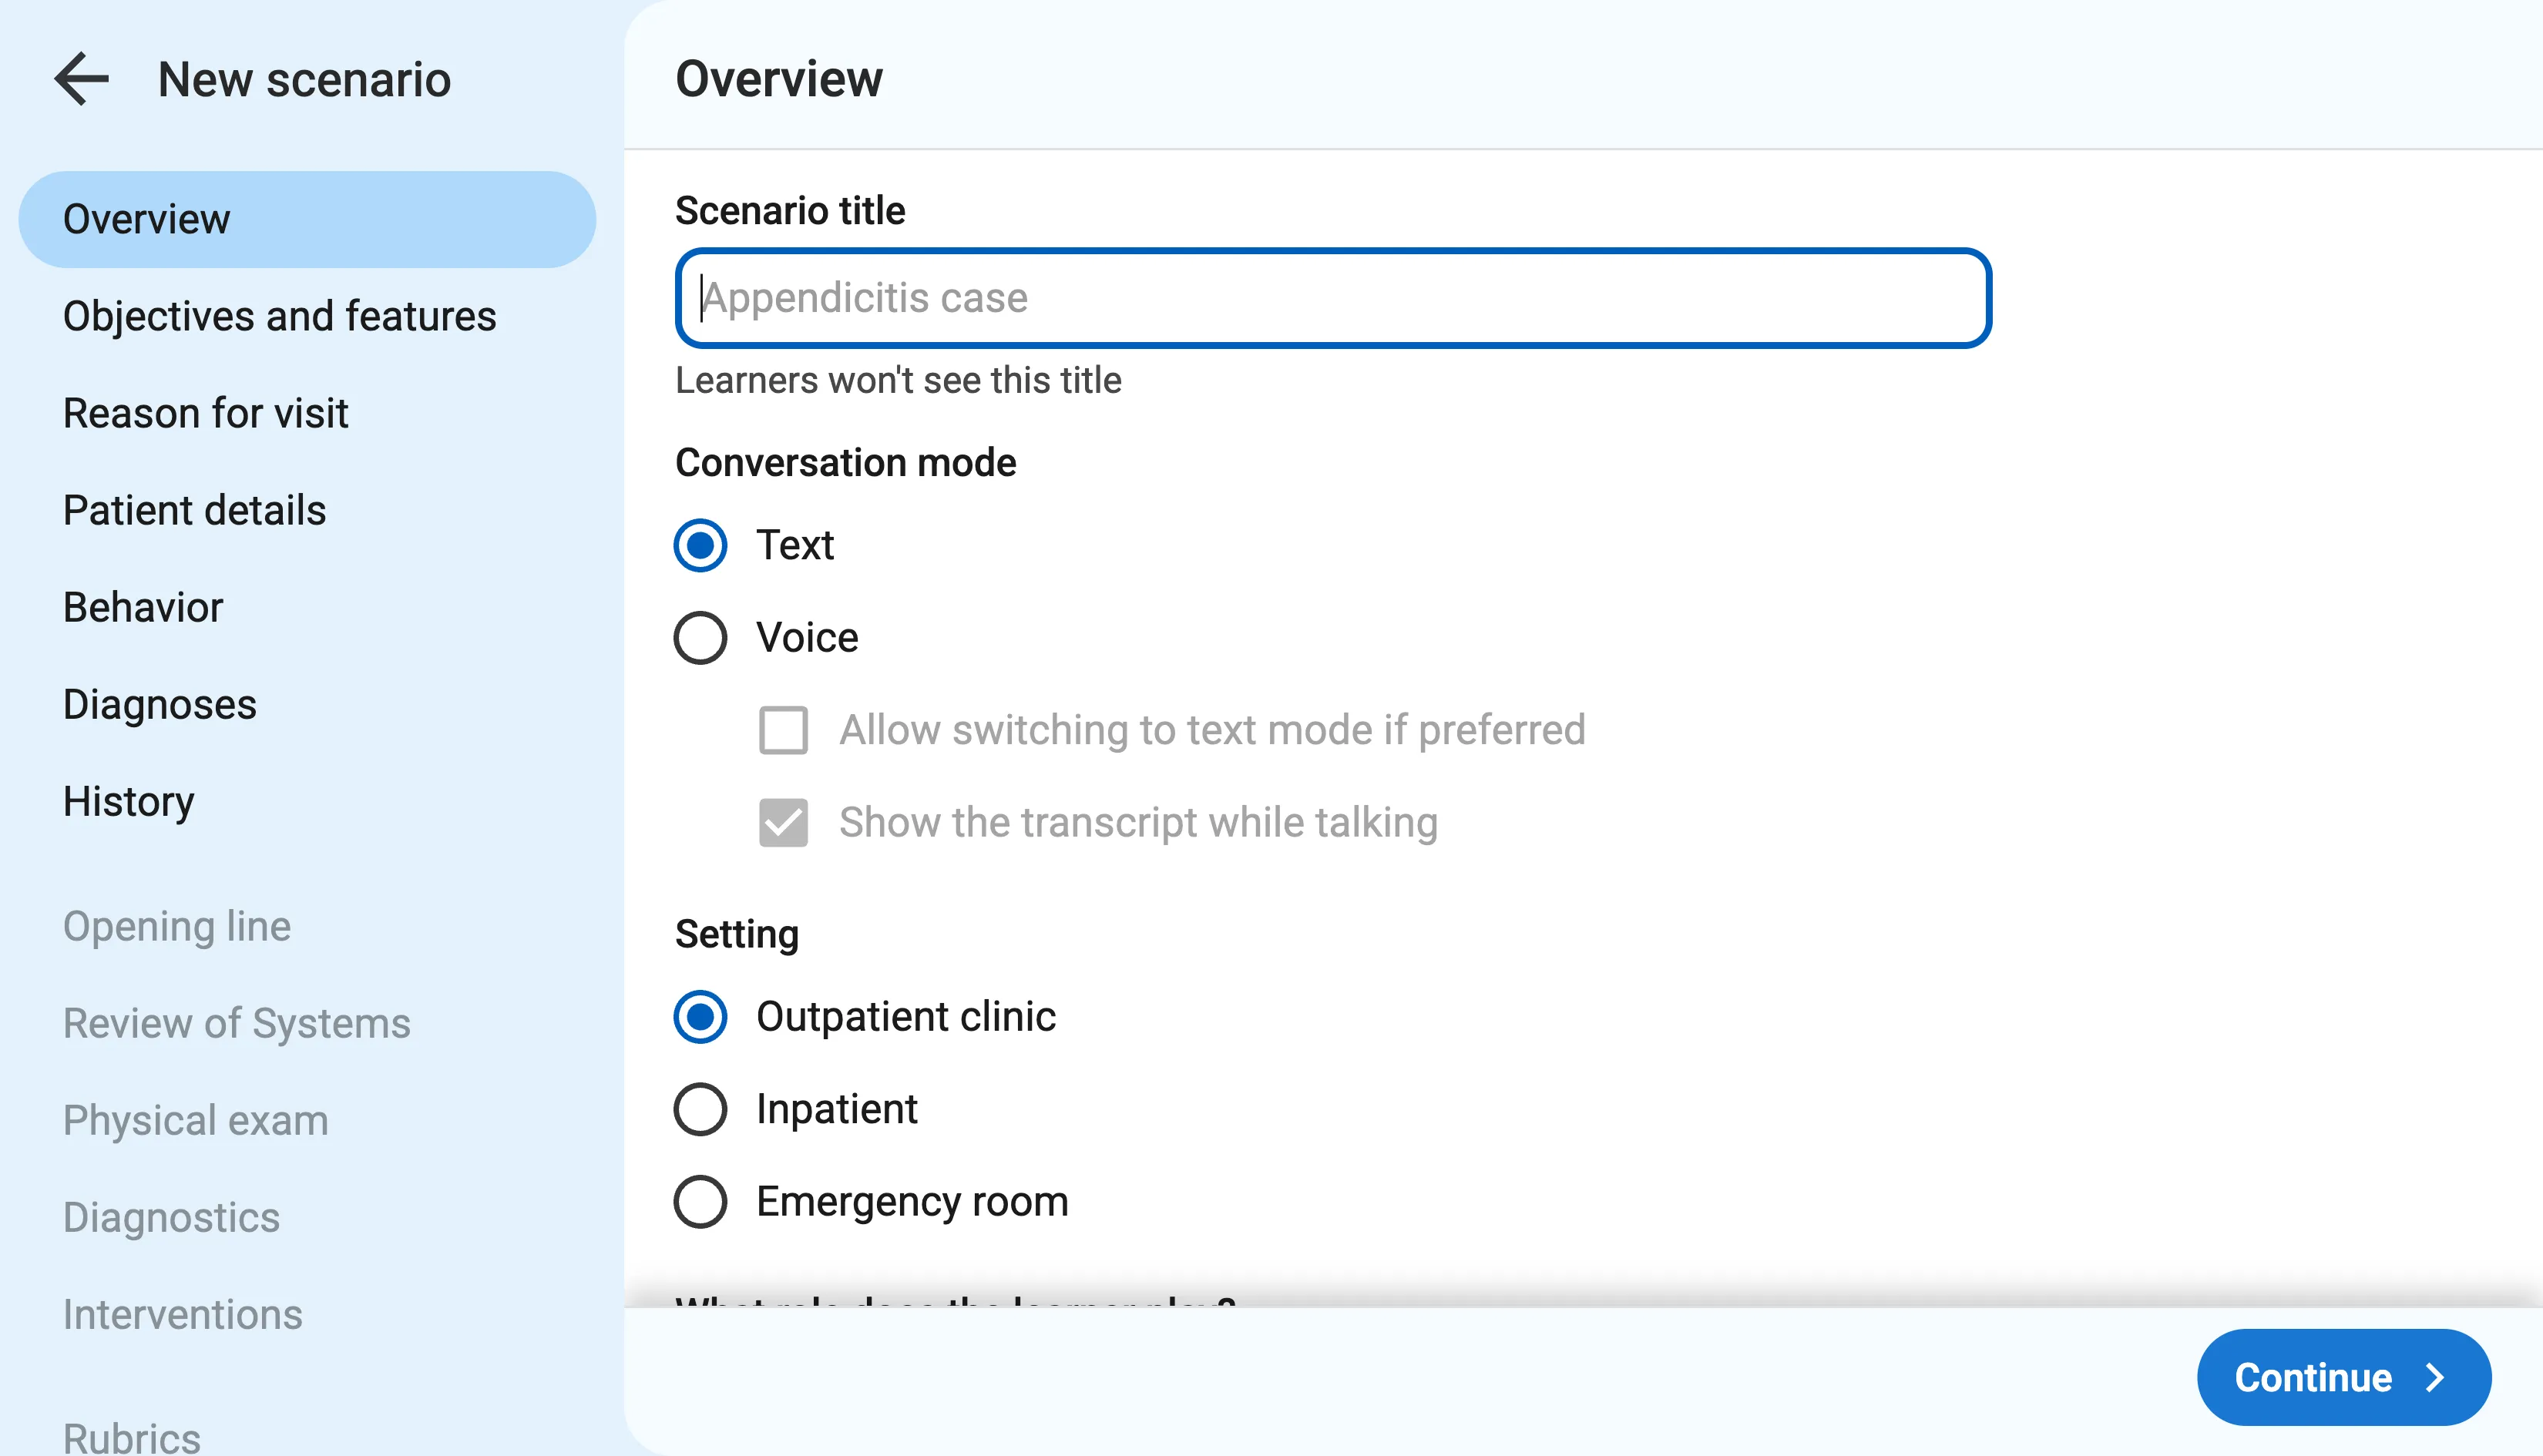
Section titled “Creating a new scenario”Click the New scenario button at the top right of the page to create a new case scenario.
Our AI-assisted scenario creation form will guide you through the steps, starting with case objectives and reason for visit, patient details, and then moving into subjective (history and review of systems), objective (physical exam and diagnostics), and finally rubrics.
The form is designed to collect all the relevant details that the AI-powered patient actor needs to act out the scenario.
First half of the form
Section titled “First half of the form”During the first half of the form, you’ll enter:
- A scenario title
- Conversation mode (Text or Voice)
- Case objectives (either to diagnose the patient or have a focused conversation) and which features to enable
- Reason for visit, chief concern, and HPI
- Patient demographic details
- Diagnosis and differentials
- Patient history
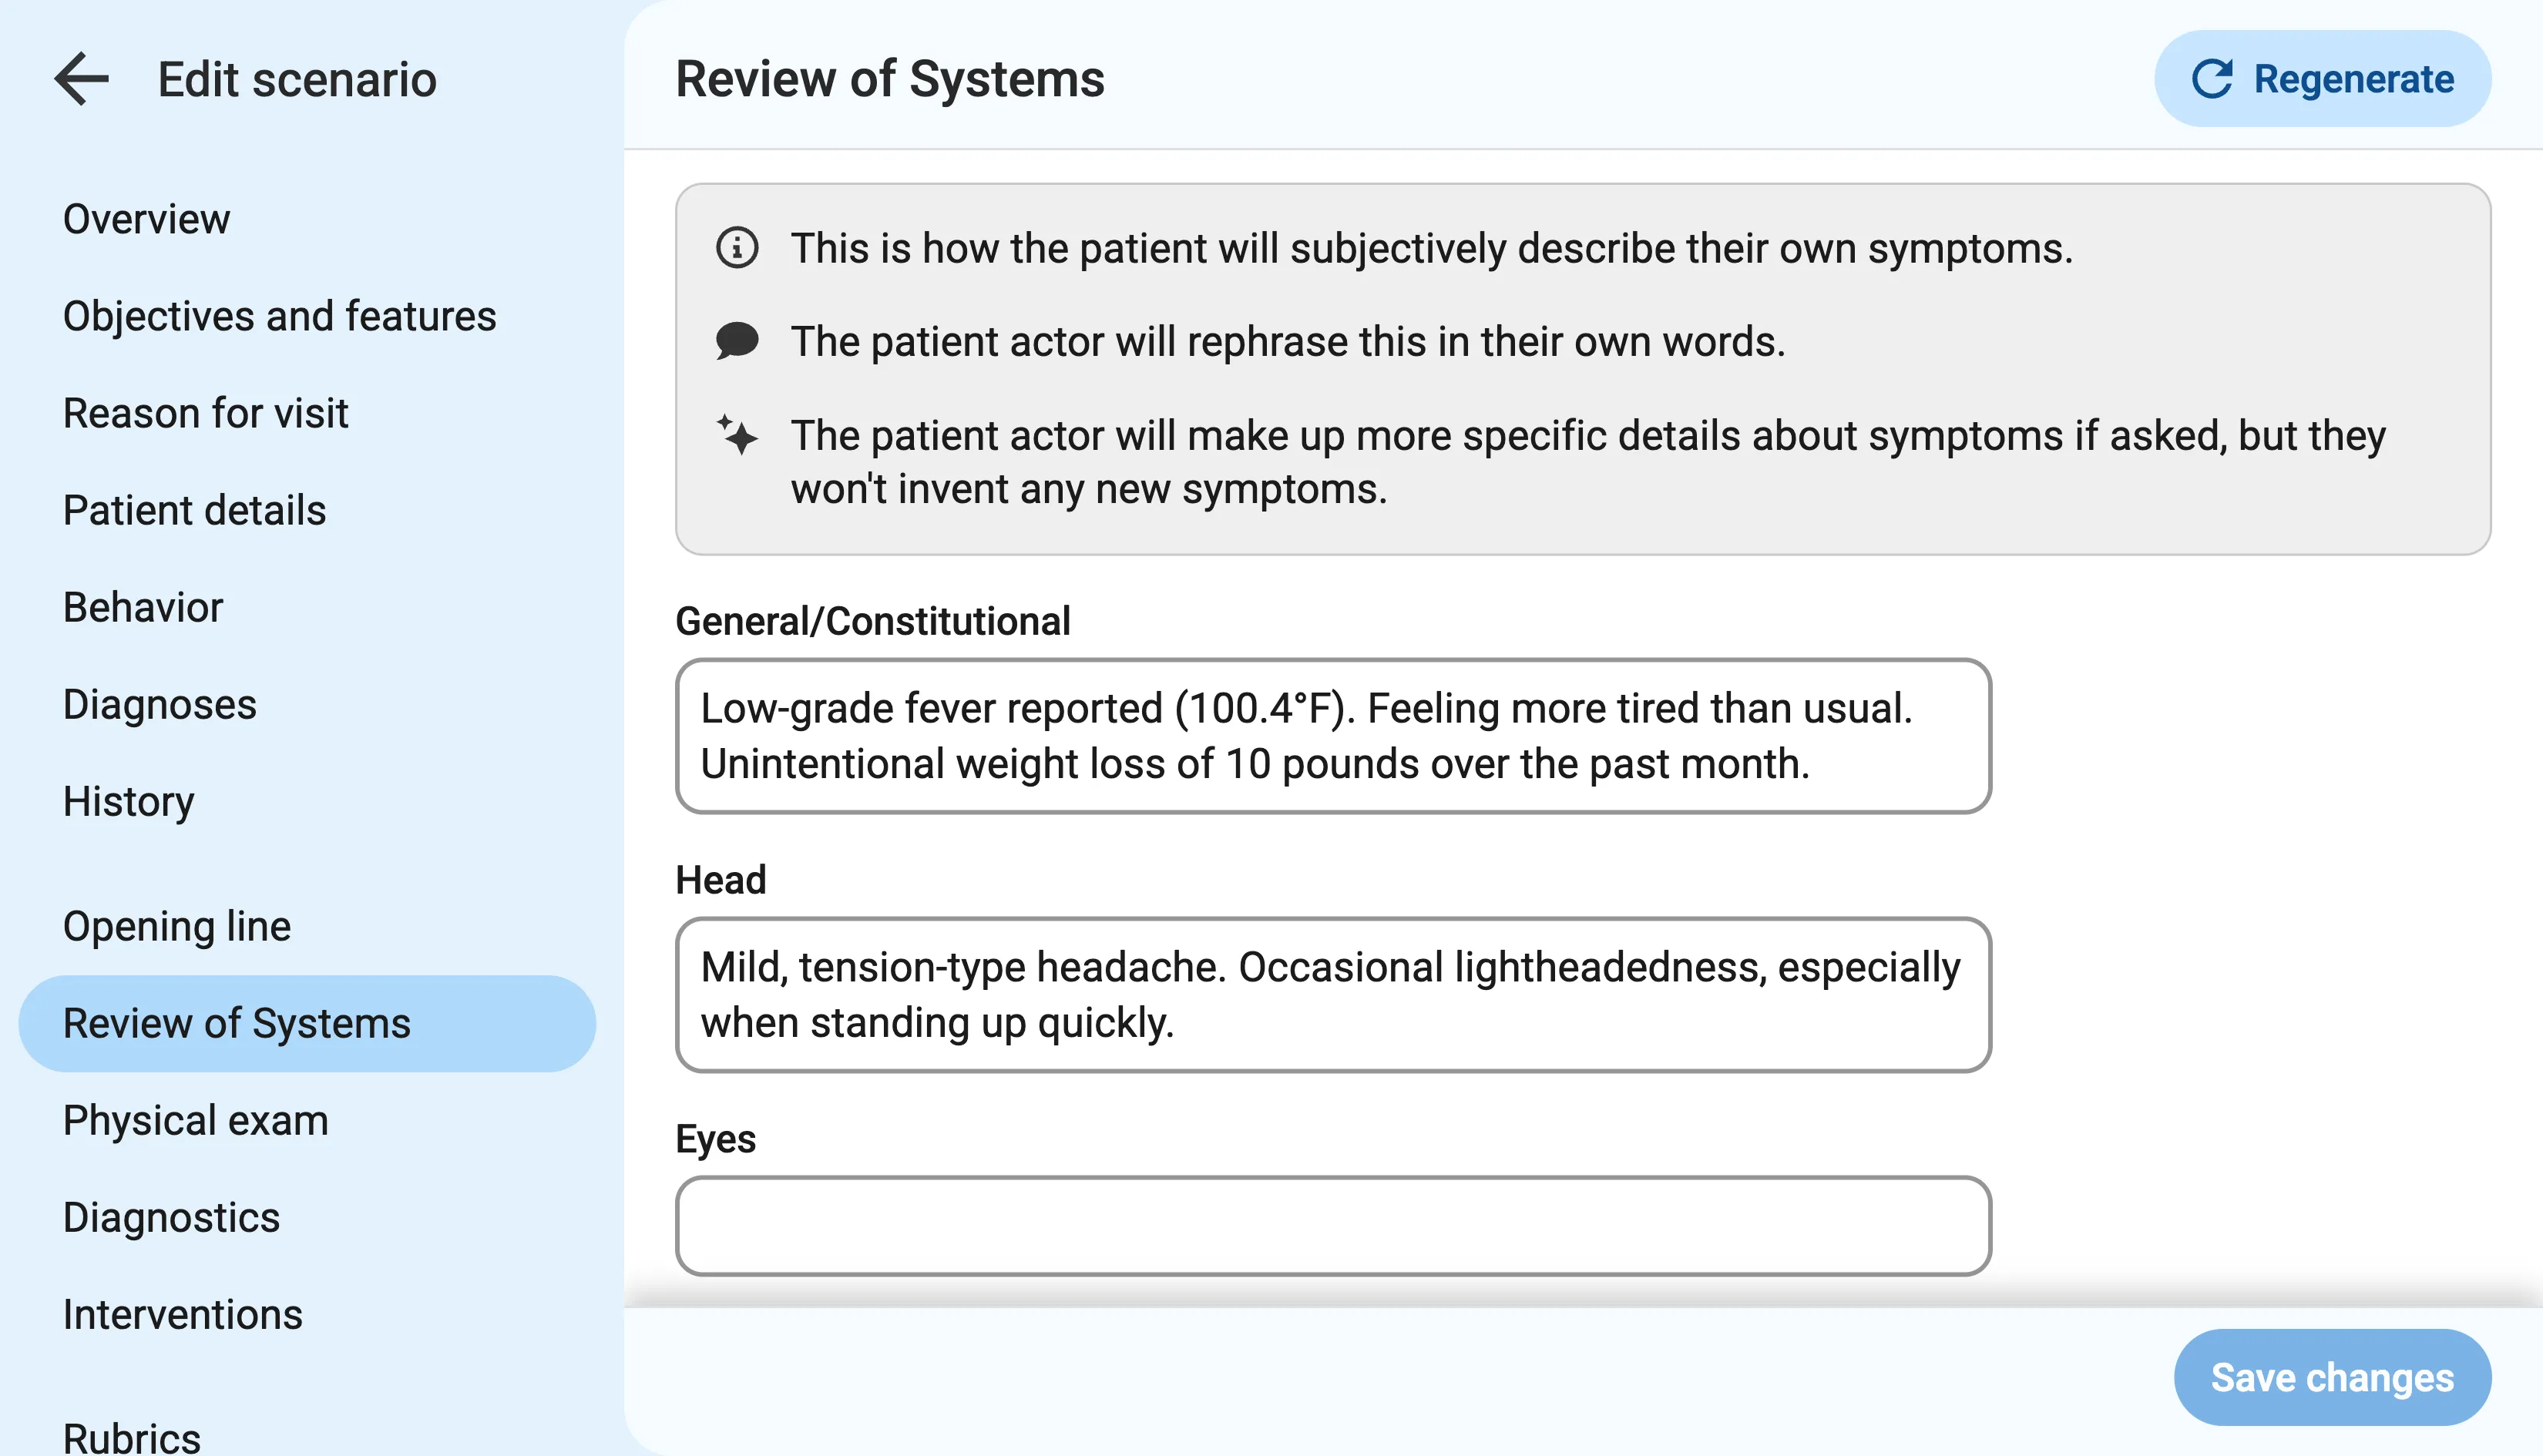
The patient actor will rephrase the chief concern and history in their own words.
You only need to specify as much detail as is necessary. For any details left unspecified, the patient actor will make up benign answers that align with the diagnosis.
Second half of the form
Section titled “Second half of the form”Based on the diagnosis and other details entered into the first half of the form, our AI system will automatically fill out the second half of the form for you, generating an opening line, review of systems, physical exam findings, and diagnostic results, step by step. At each step, you can review and make changes as needed to align with your vision for the case.
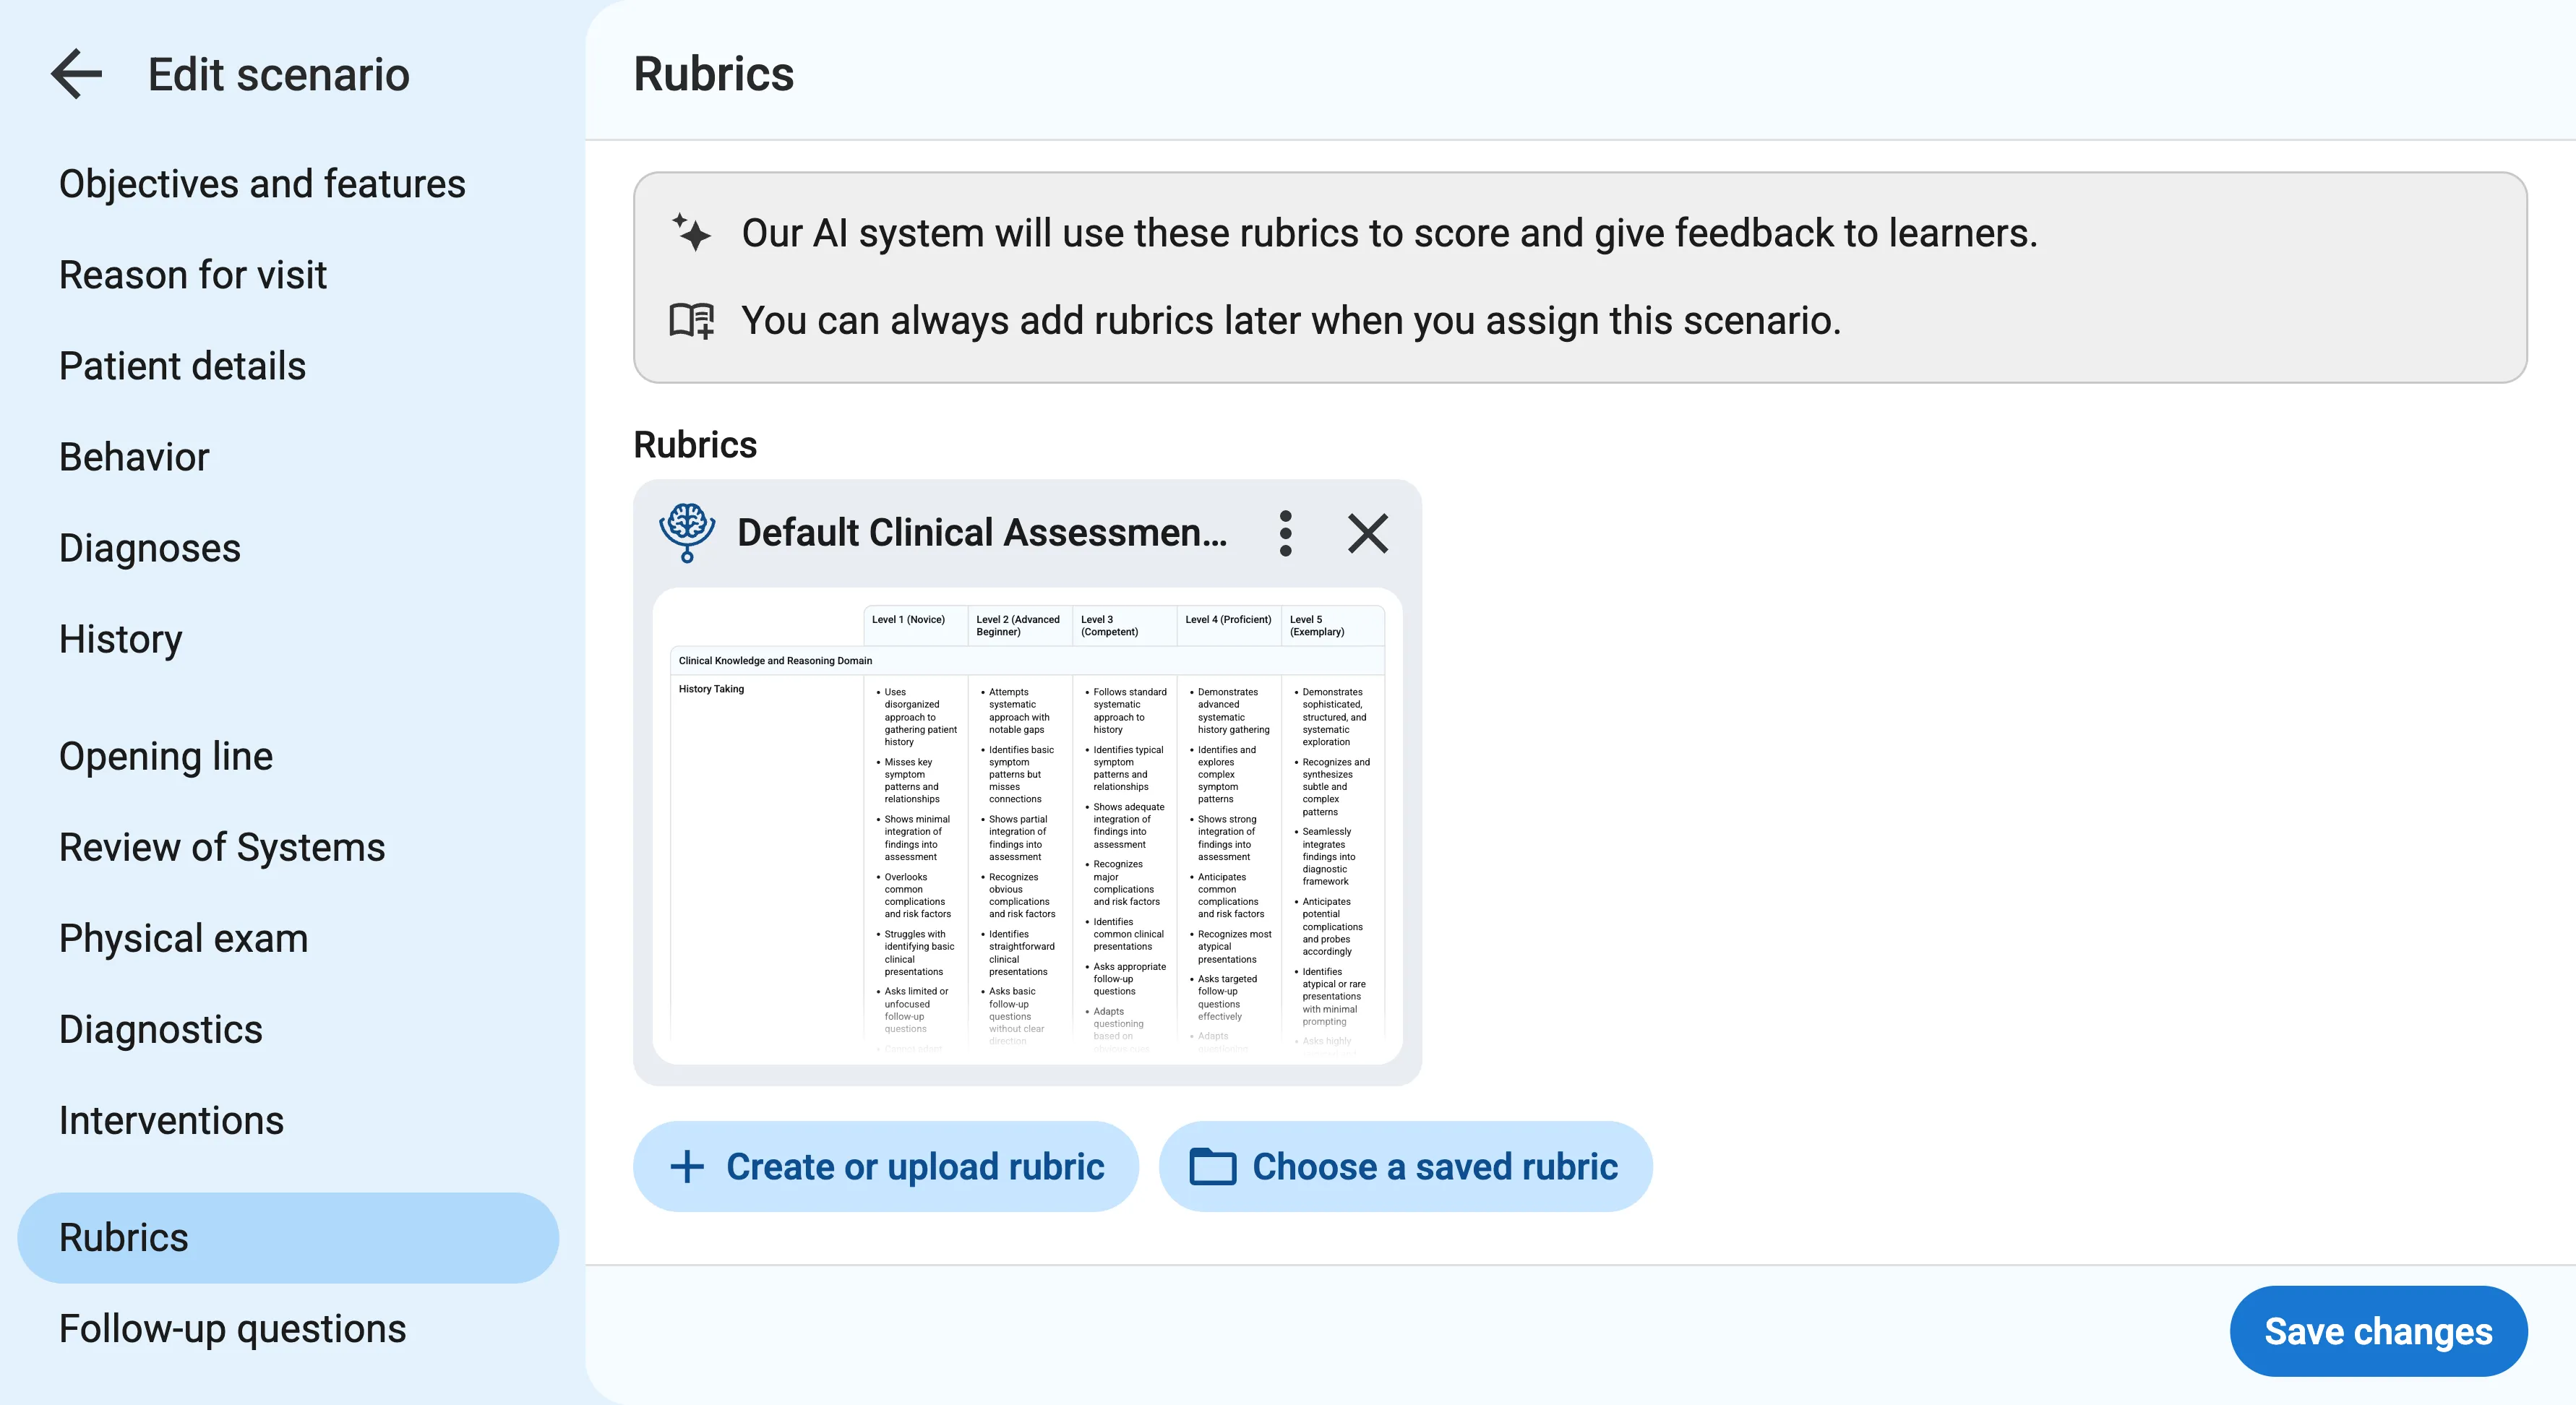
Adding a rubric
Section titled “Adding a rubric”The last step of scenario creation is to choose the rubric that our AI system will use to score and give feedback to learners. You can always change this later. Learn more about rubrics.
Previewing your scenario
Section titled “Previewing your scenario”Click the Preview button to run a scenario. It’s useful to try interacting with the case by asking questions and ordering labs, to make sure that the case is working as you intended and make edits as needed.
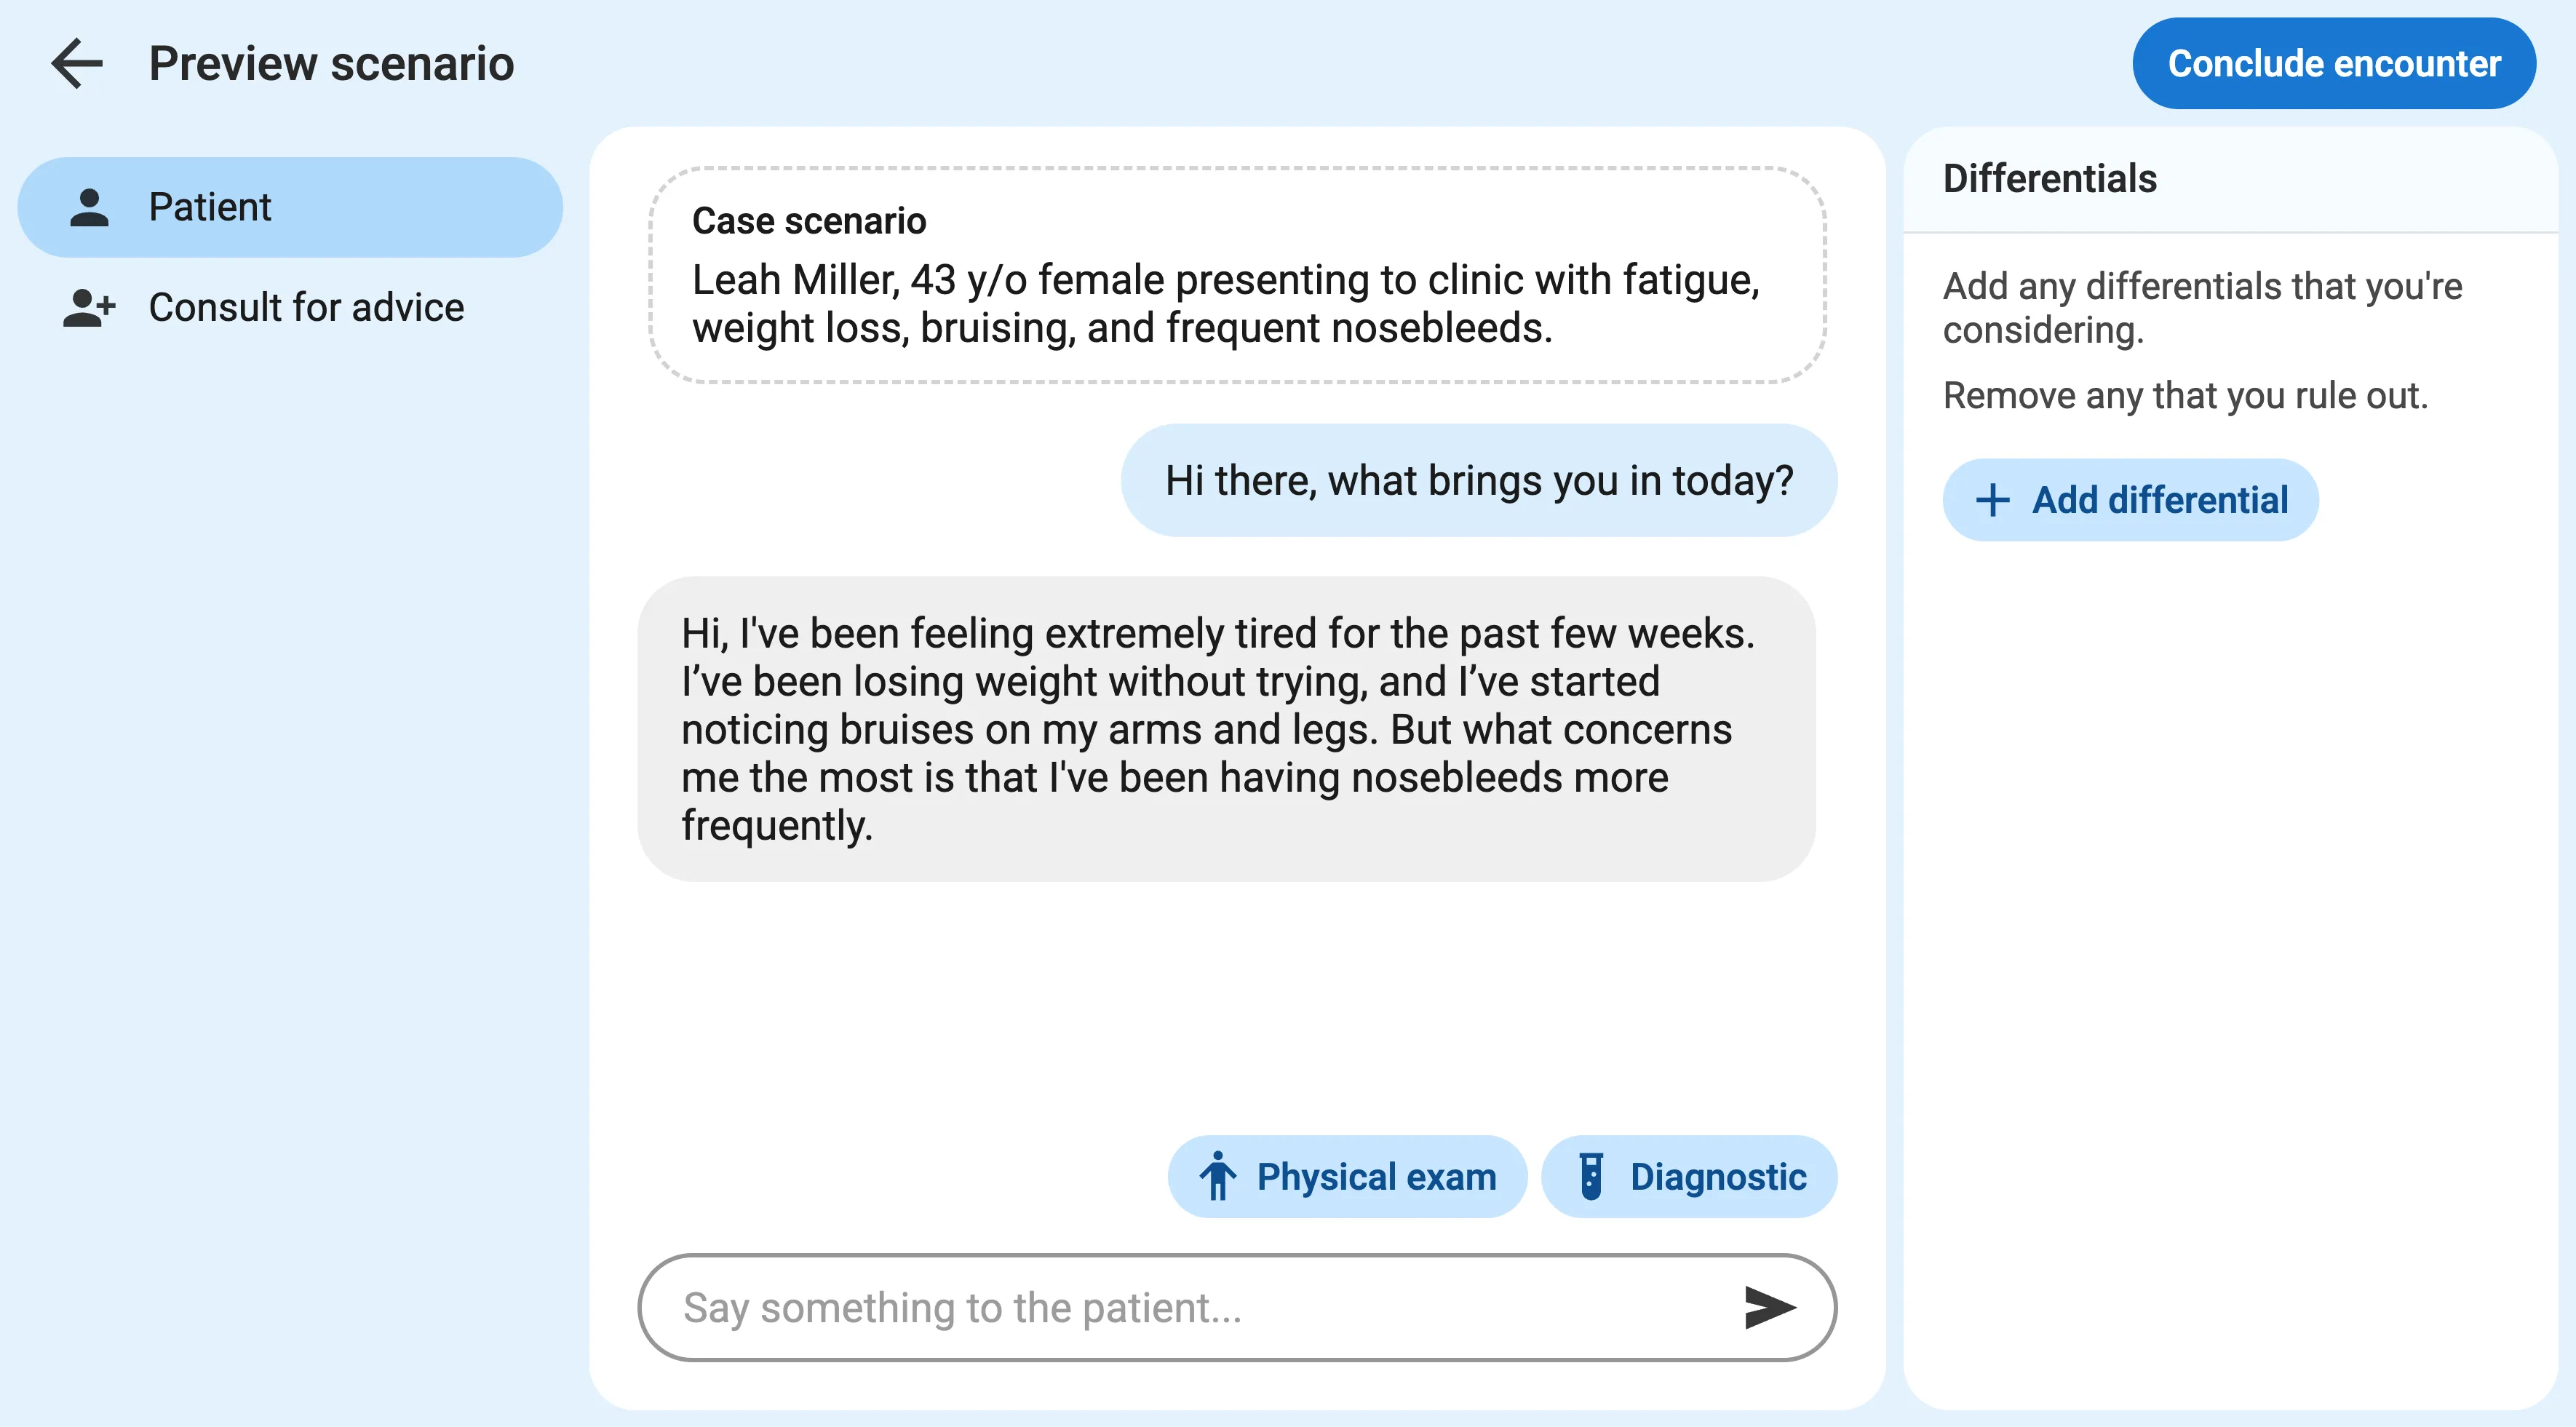
Preview mode is designed to let you go as far as you want, whether it’s to try out just a few questions or complete the case and get feedback.
Reviewing past preview conversations
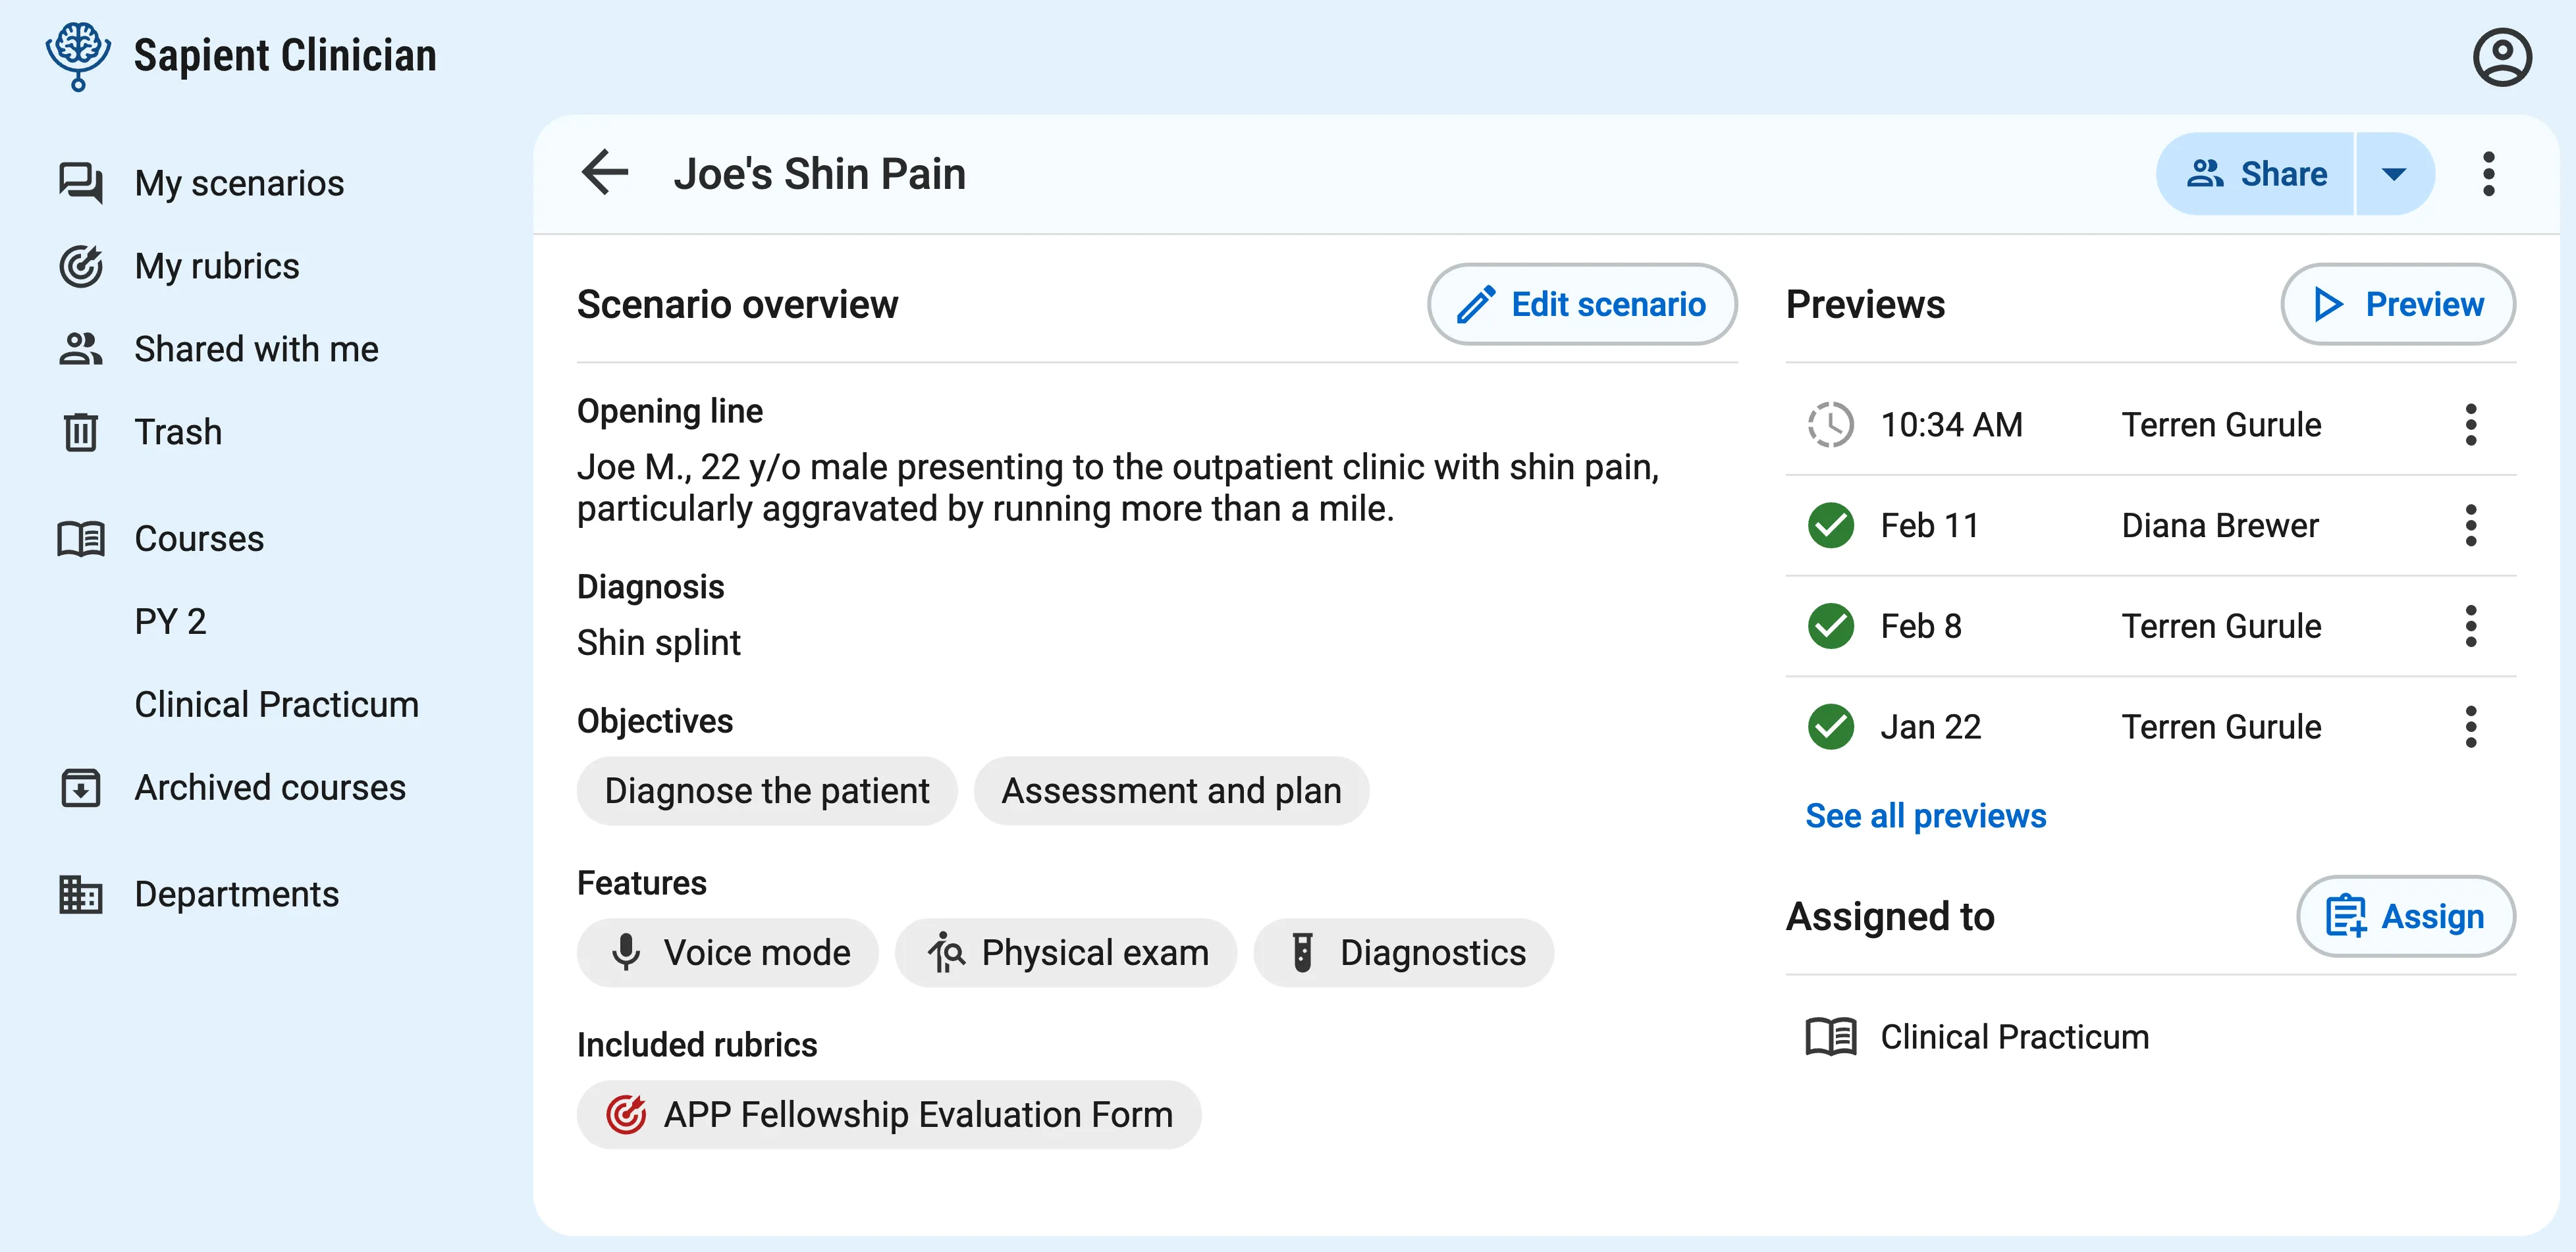
Section titled “Reviewing past preview conversations”Clicking on a scenario takes you to the scenario overview page, where you’ll find a list of your past preview conversations on the right side. You can click to resume or review a past preview conversation. This list is visible to everyone who the scenario is shared with.
Next steps
Section titled “Next steps”Learn more about scenario features: